ACE Cloud (AWS) – Installation and Usage guide
Index
- What is ACE Cloud
- Architecture
- High level steps
- Functional Pre-requisite
- Technical Pre-requisite
- Create AWS Role, Attach Policy & get ARN Number
- Register your AWS account in ControlCase Portal
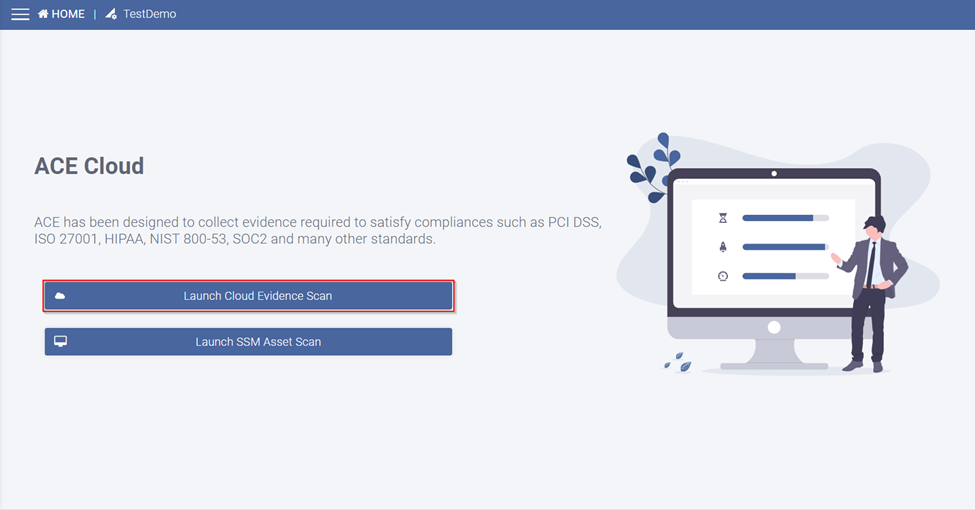
- Ready to launch first scan
What is ACE Cloud?
ACE Cloud is variant of ACE line of products to collect evidence required for compliance from Cloud Platforms. ACE Cloud does not require server, installation of any software, or running of any tool/agent. ACE Cloud remotely connects to clients cloud infrastructure and collects evidence. After collection of evidence, ACE Cloud also performs analytics to identify compliance status.
ACE has been designed to collect evidence needed to satisfy compliances such as PCI DSS, ISO 27001, HIPAA, NIST 800-53, SOC2 and many other standards.
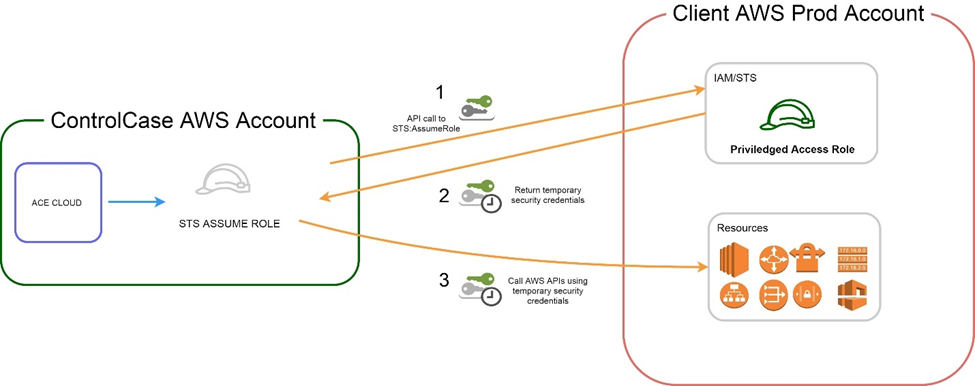
Architecture
High level steps
- Check with ControlCase PMO or support team, to get a demo of ACE Cloud application.
- Get access to ControlCase Compliance HUB portal.
- Very Important Step: Email ControlCase support team to request ControlCase AWS account ID. You will need to enter ControlCase AWS account ID in your AWS Management console during role creation step.
Subject Line: ACE Cloud – AWS Account ID information required. - Check with you AWS Administrator to get the pre-requisites ready (given below)
- Setup an internal call with your AWS Administrator, and perform the steps explained below in this document.
- Once the deployment is complete, run a sample scan (Cloud infra evidence scan and Asset evidence scan). You are ready to use the application.
- Check with ControlCase PMO/Assessor on sample set. Sample sets are machines that assessor would want you to provide evidence for.
- Run the scans on the selected machines, download the compliance report, read the report, remediate issues if any, consult ControlCase Assessor for the same.
Functional Pre-requisite
- Client must have access to AWS account with admin privilege.
- Client must have ControlCase Compliance HUB. Please drop a mail to ControlCase support team to get ACE Cloud portal access.
Technical Pre-requisite
To establish connection between ControlCase Compliance HUB and Client’s AWS account, you will require to create an IAM Role, which must satisfy below,
A. It should be STS (AWS Security Token Service) Assume IAM Role for ACE Cloud to perform read actions in your account.
B. IAM Role must have below 5 AWS managed IAM Policies attached to it,
- AmazonEC2ReadOnlyAccess
- AmazonVPCReadOnlyAccess
- AmazonSSMFullAccess
- IAMReadOnlyAccess
- AmazonRDSReadOnlyAccess
C. Copy and note down the ARN (number) of the IAM role you have created. This ARN will be used at the time of registration to access your AWS production account.
The steps to create and get IAM STS Assume Role ARN is mentioned below in “Create AWS Role, Attach Policy & get ARN Number” section.
Create AWS Role, Attach Policy & get ARN Number
To create Cross-Account AWS STS IAM Role, please follow below steps.
Create IAM Role
i. Sign into the AWS Management Console with Production Account.
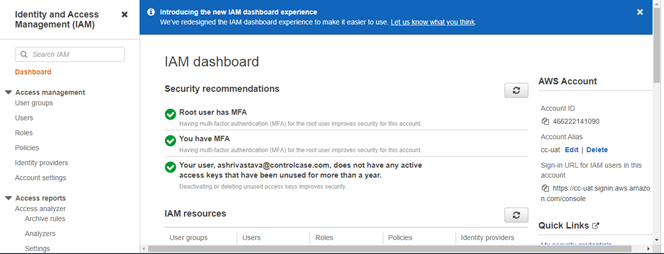
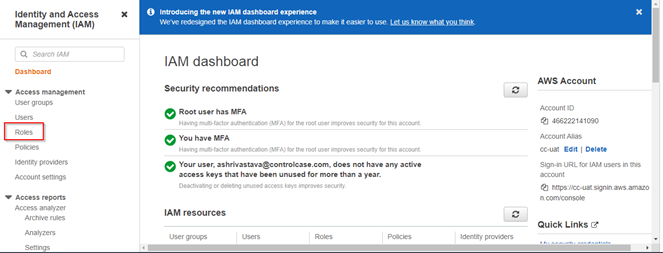
ii. Open the AWS Identity and Access Management (IAM) console.
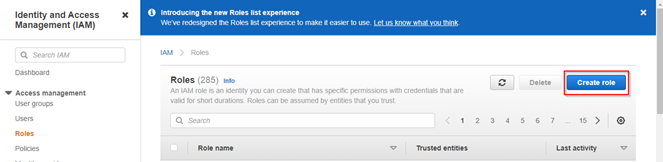
iii. In the navigation pane, choose Roles.

iv. Choose Create role.
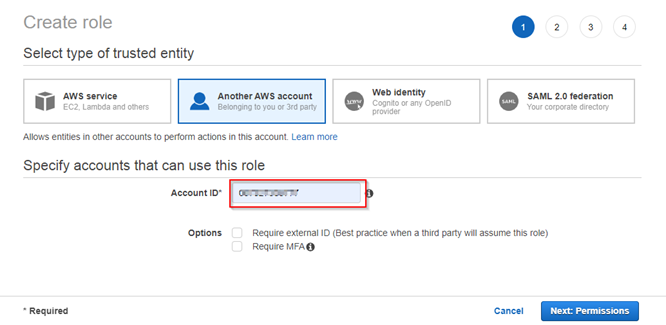
v. For Select type of trusted entity, choose Another AWS account.
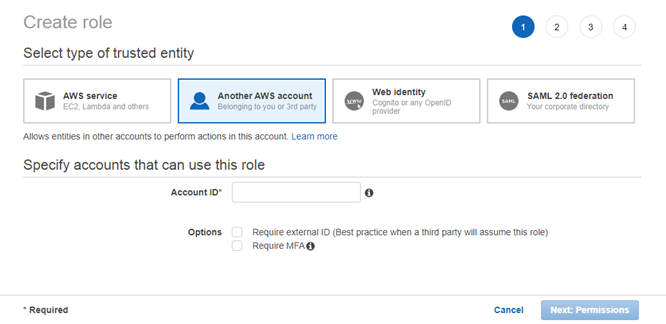
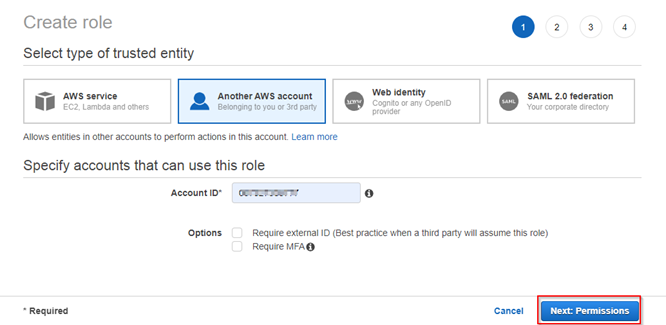
vi. For Account ID, enter the ControlCase ACE Cloud account ID (Please contact ControlCase Support for account ID).
vii. Choose Next: Permissions.
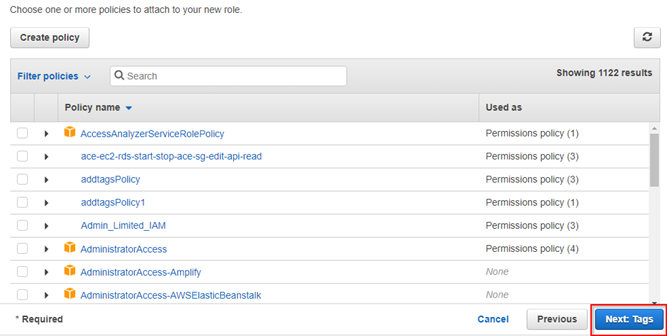
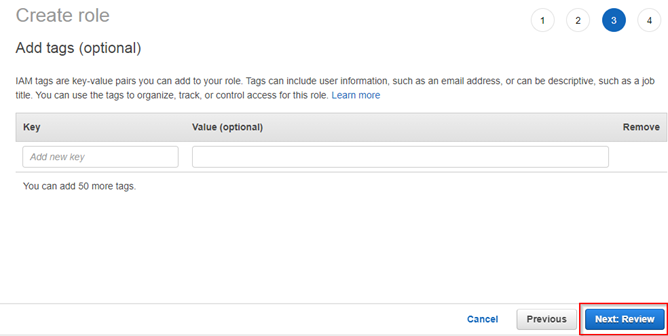
viii. Choose Next: Add tags. You can add optional tags to the role. Or you can leave the fields blank, and then choose Next: Review.
ix. For Role name, enter a name for the role.
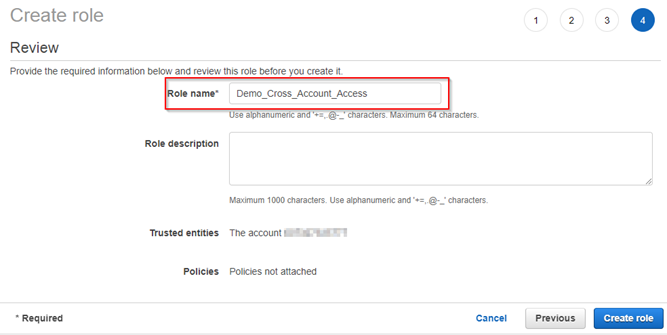
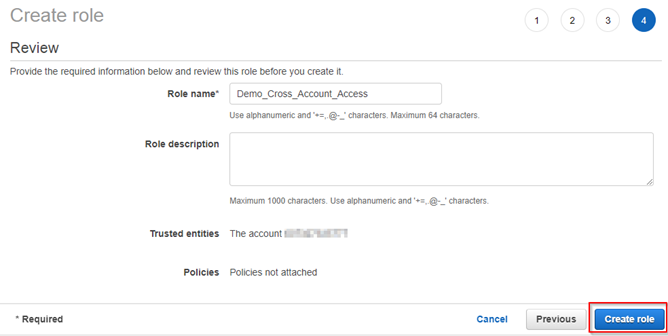
x. Choose Create role.
Attach Policies
xi. In the navigation pane, choose Roles.
xii. In Right Panel click on Role name you created just now.

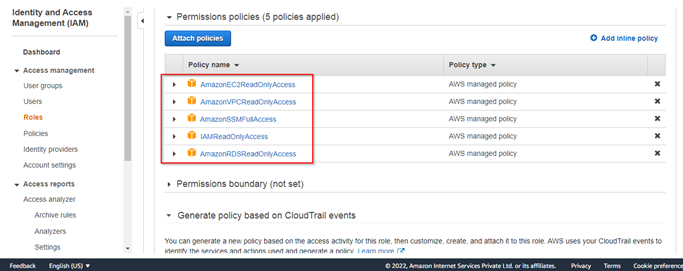
xiii. In Permission tab click on Attach Policies And attach following AWS Managed Policies
- AmazonEC2ReadOnlyAccess
- AmazonVPCReadOnlyAccess
- AmazonSSMFullAccess
- IAMReadOnlyAccess
- AmazonRDSReadOnlyAccess
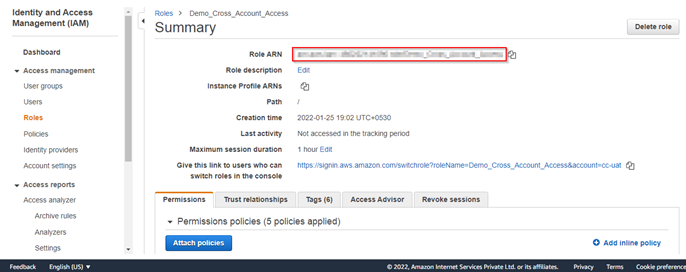
Get the role’s ARN
xiv. From the IAM console’s navigation pane, choose Roles.

xv. Choose the IAM role that you created.
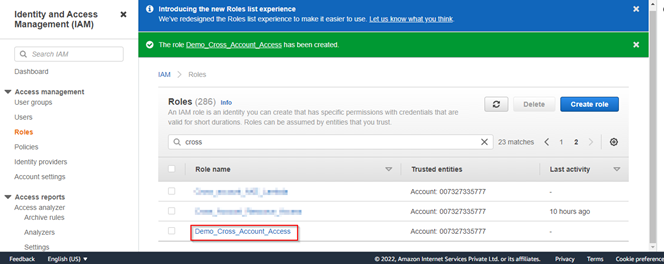
xvi. Note the value that is listed for Role ARN.
Register your AWS account in ControlCase Portal
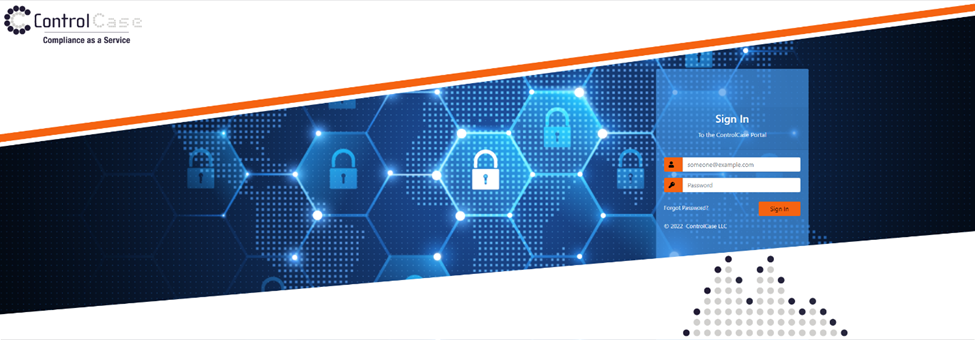
Login to SkyCam portal
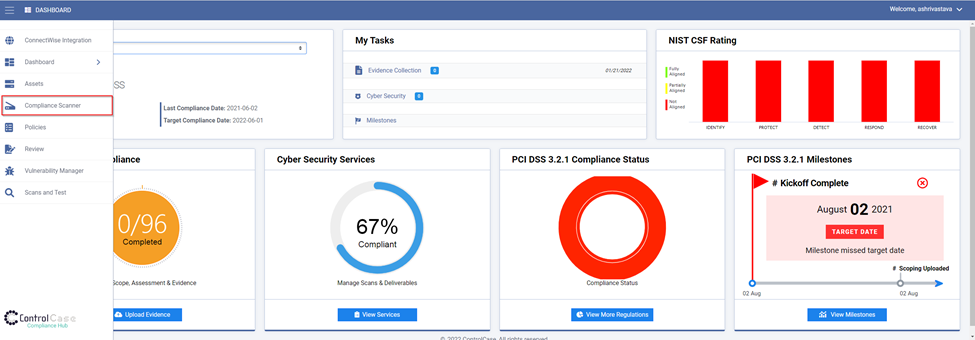
Select the “Compliance Scanner” from the side bar menu.
Registration
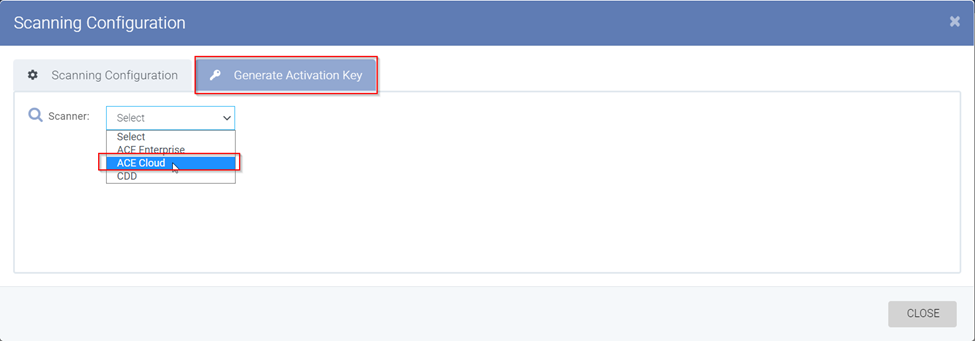
Click on “Generate Activation key” and select “ACE Cloud”
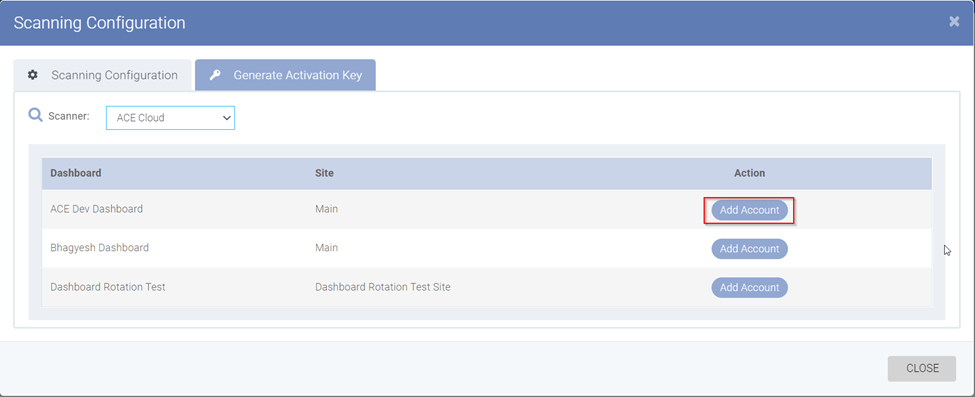
Click on “Add Account” for required Dashboard and Site.
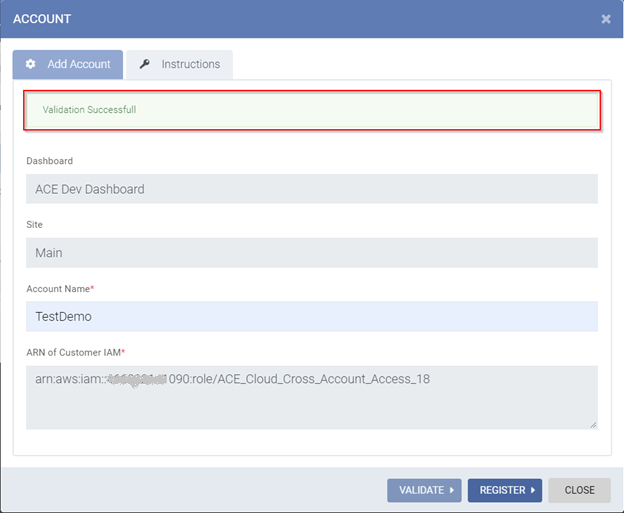
Provide required detail and click on “Validate” to confirm your account accessibility and permissions to perform evidence collection.

You should see “validation Successful” message upon validation.
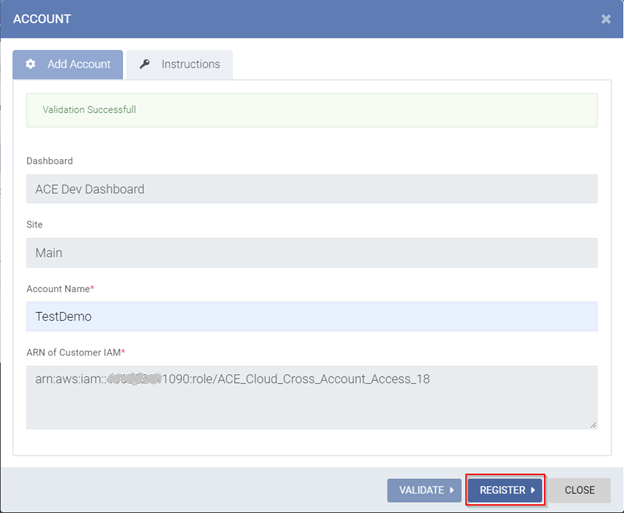
Now click on “Register” to register your account.
Ready to launch your first scan
Support and Help
We will constantly be updating our knowledgebase with more articles and documents on support. It can be found at https://help.controlcase.com/kb/category/ace/
OR
Contact ControlCase support at https://www.controlcase.com/contact-us/
Leave a Reply!
You must be logged in to post a comment.