Activating ACE Enterprise endpoint
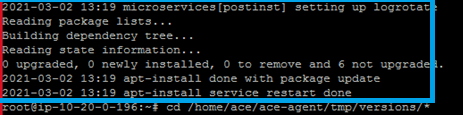
• After successful installation, you shall be able to see following final lines on your console. This marks the completion of installation.
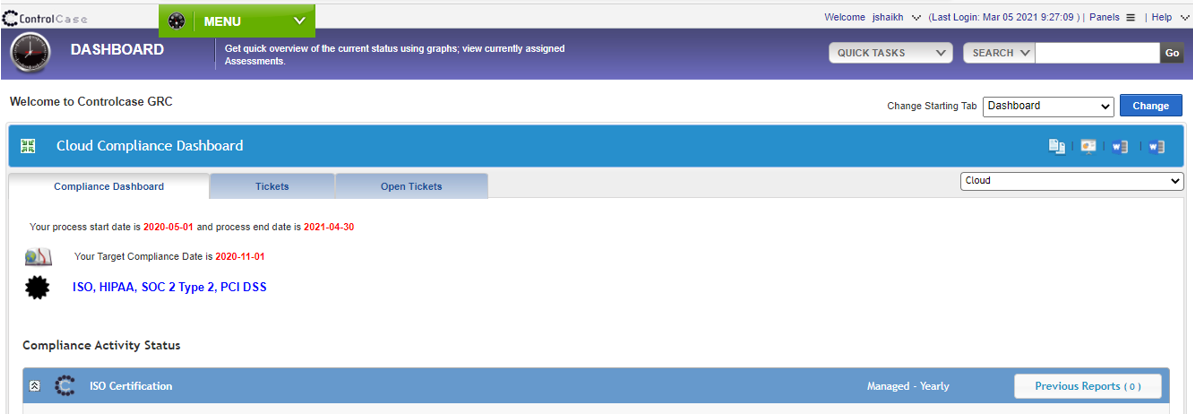
• Login to ControlCase SkyCAM portal
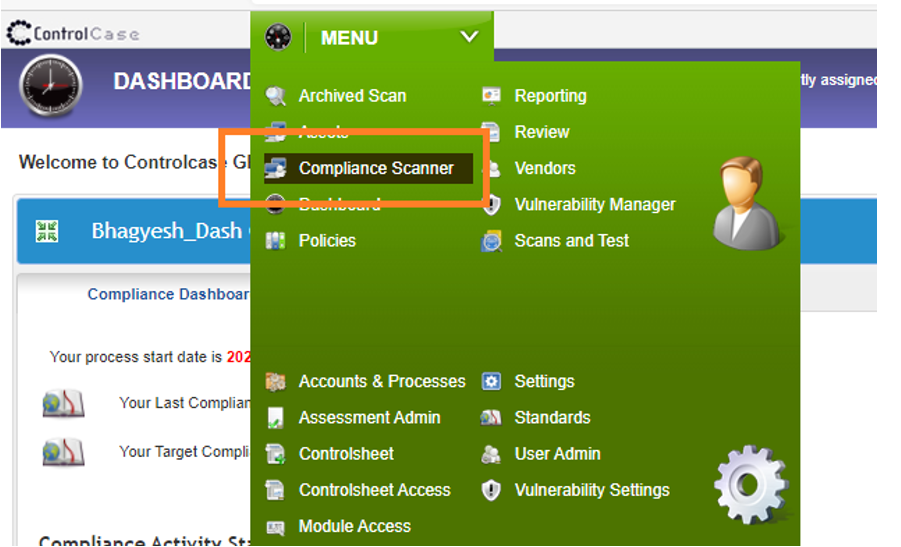
• Click on Compliance Scanner menu.
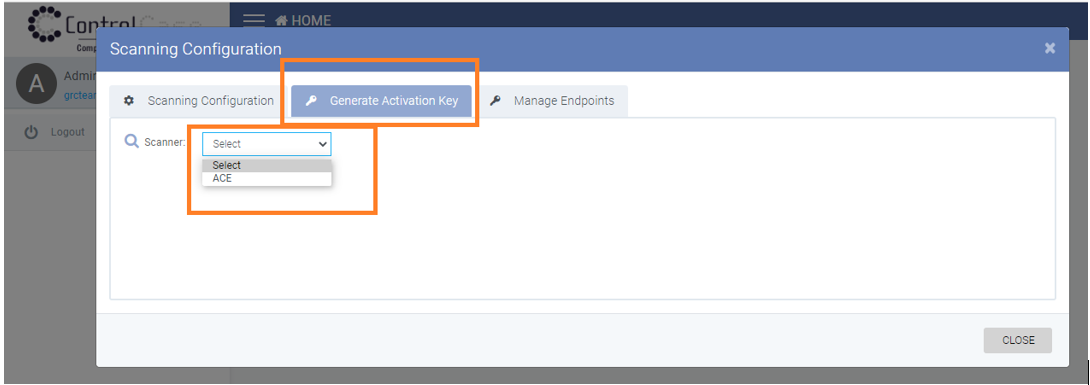
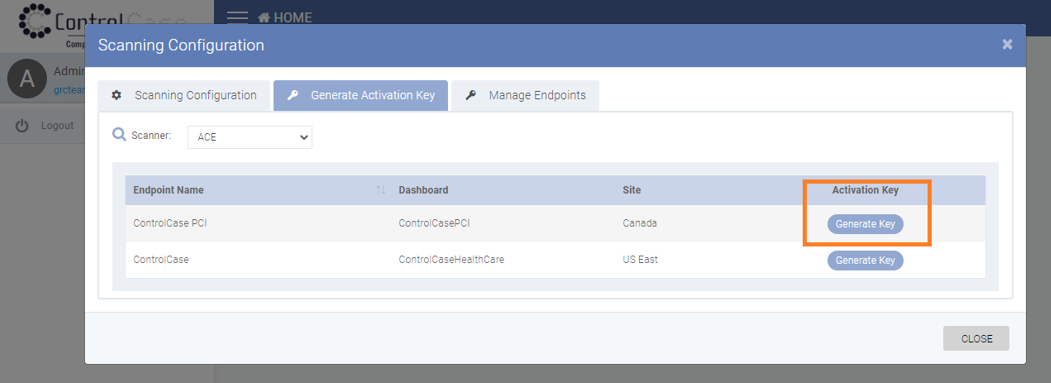
• Click on Generate Activation Key tab. And select ACE from dropdown.
• Click on Generate Key. Check with your Project Manager/Assessor for which Dashboard to select.
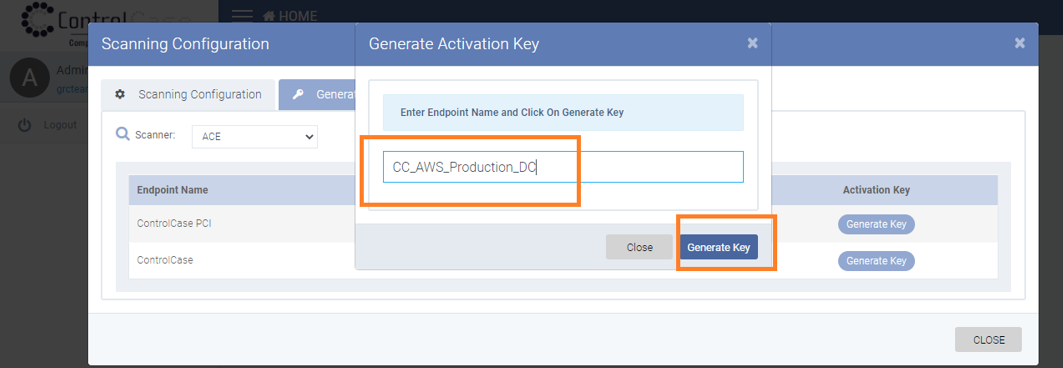
• Give a name to your endpoint with which you can identify it in future. And click on Generate key.
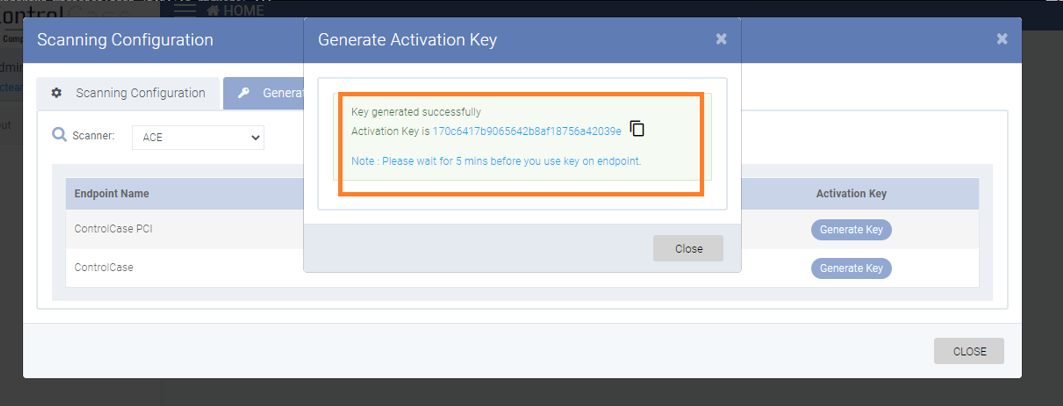
• Activation Key shall get generated, copy the activation key and keep it safe till you activate the endpoint.
Do not refresh the page without noting down the activation key.
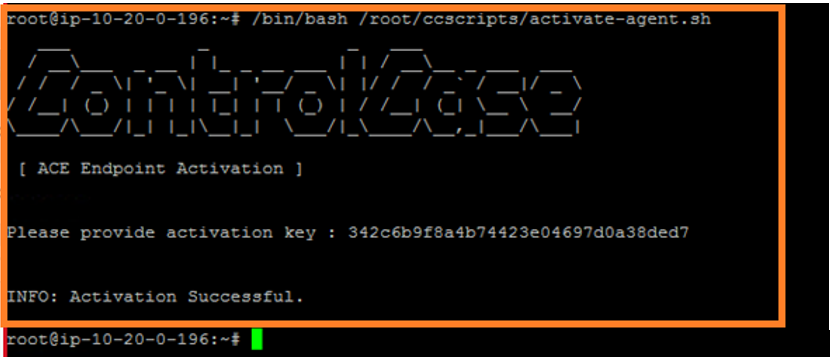
• Go to the installed ACE scanner console and enter the following command to start activation.
a. Wait for 5 mins as cooling period to get the heartbeat at ControlCase End.
b. Run command “/bin/bash /root/ccscripts/activate-agent.sh” with root privileges.
c. Enter the activation key.
Leave a Reply!
You must be logged in to post a comment.